

Intellj Code Format 설정
Intellj에서 Google Java Format를 적용시키는 방법.
Code Style을 적용 시키는 방법엔 여러가지가 있다
- Plugin 세팅
- xml 세팅
- 라이브러리 세팅
Plugin 세팅
“Ctrl + Alt + S” 환경설정 - Plugin
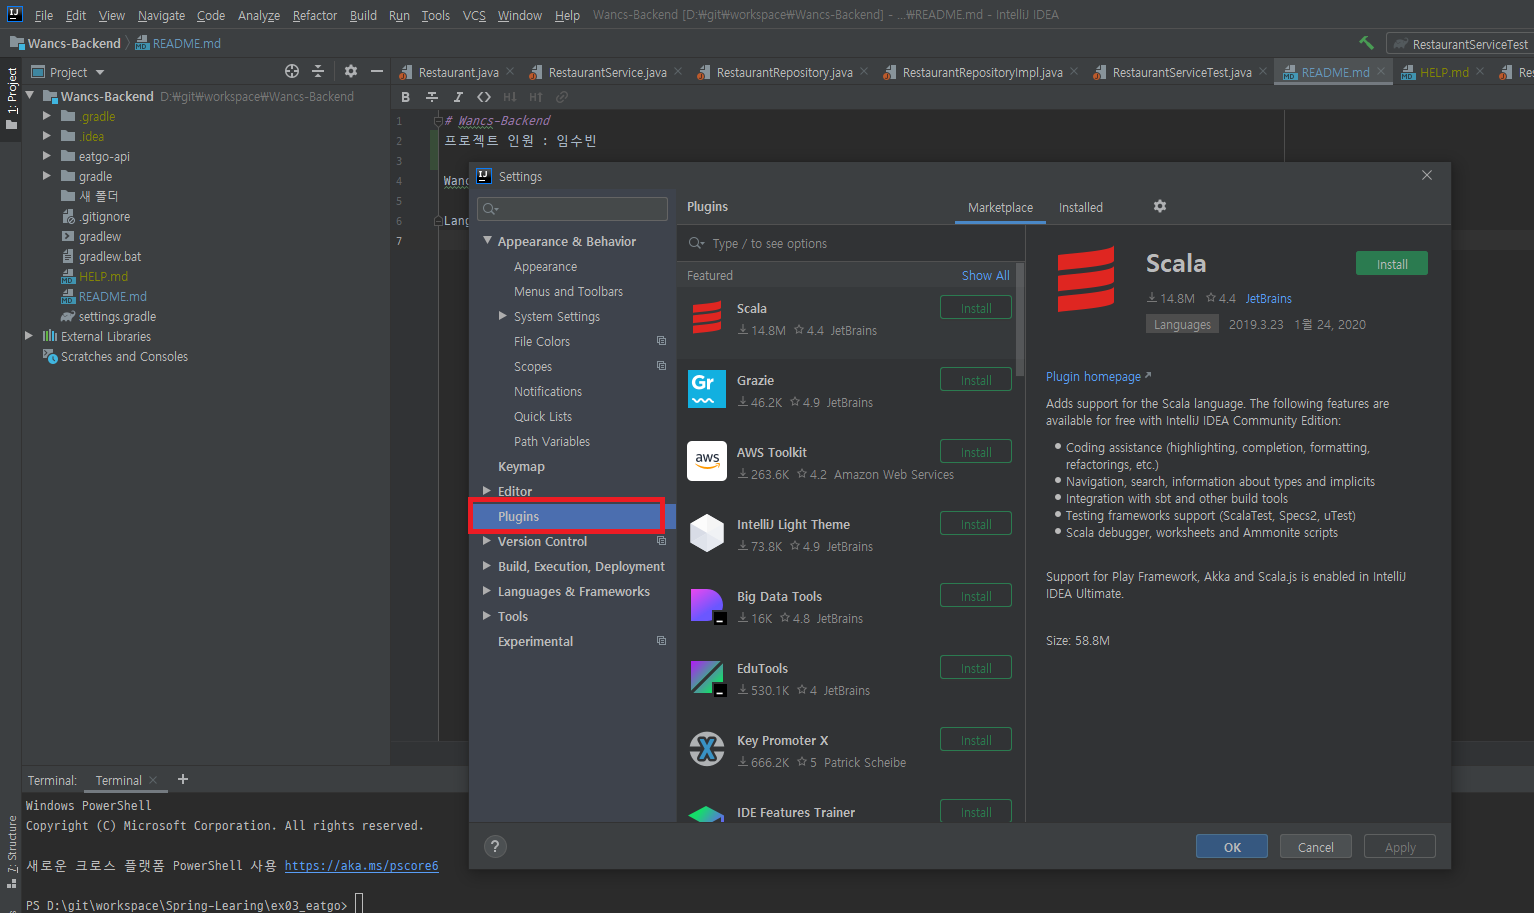
“google-java-format”입력
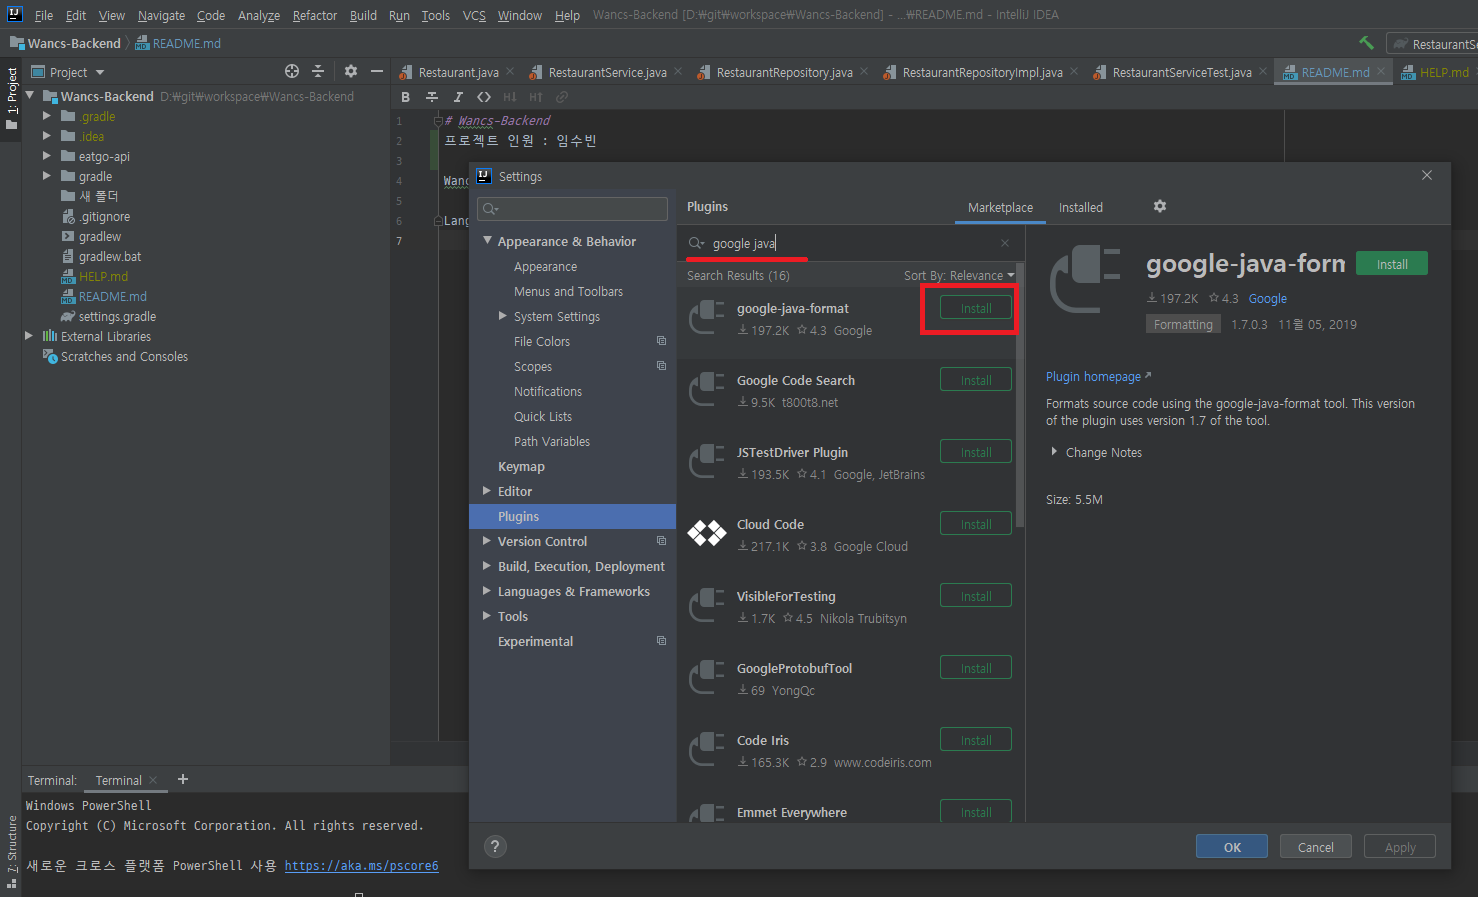
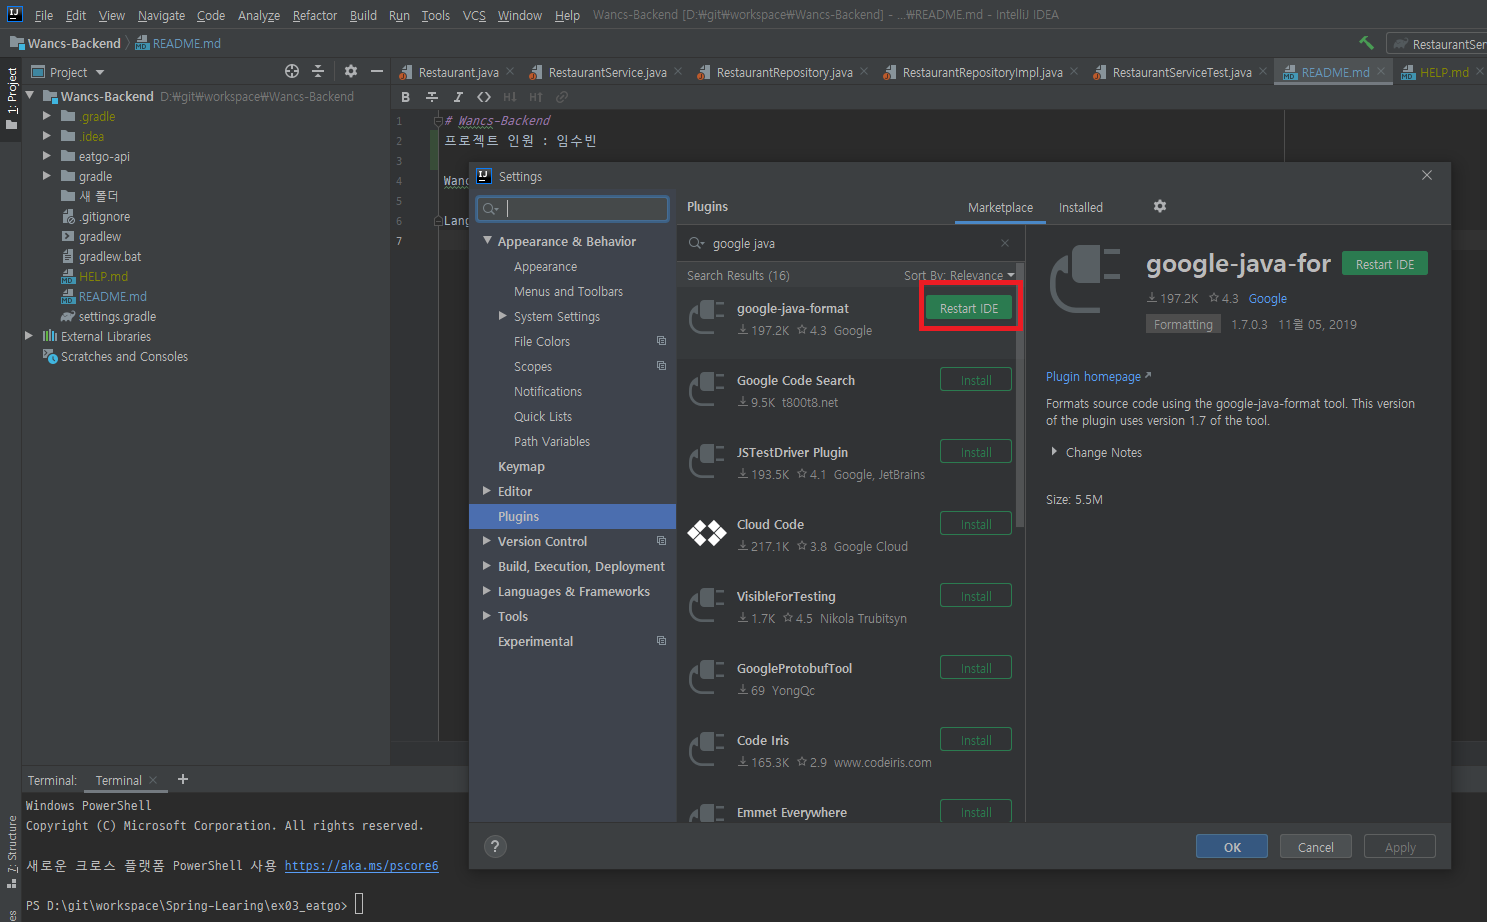
설치 - 재시작
Enable 설정
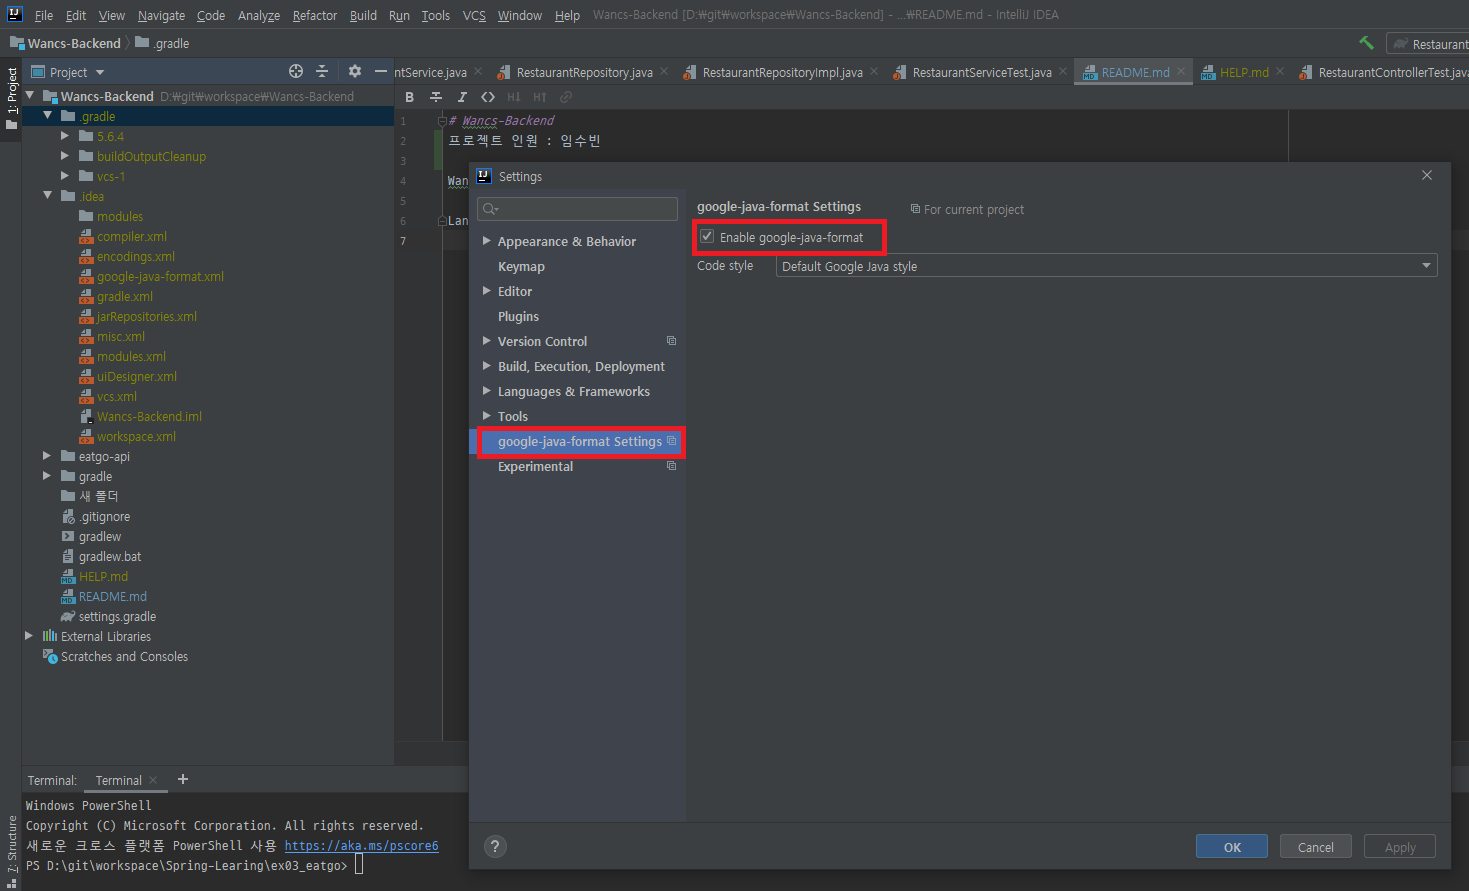
Ctrl + Alt + L 을 누르면 적용되는 것을 확인할 수 있다.
- plugin 단점 자동정렬 시만 적용되고 실질적으로 코딩할 때 IDE에서 Default로 적용되지 않음. (xml로 설정 시 tap key 간격이 변경되어 코딩 시에도 적욛됨.)
xml 세팅
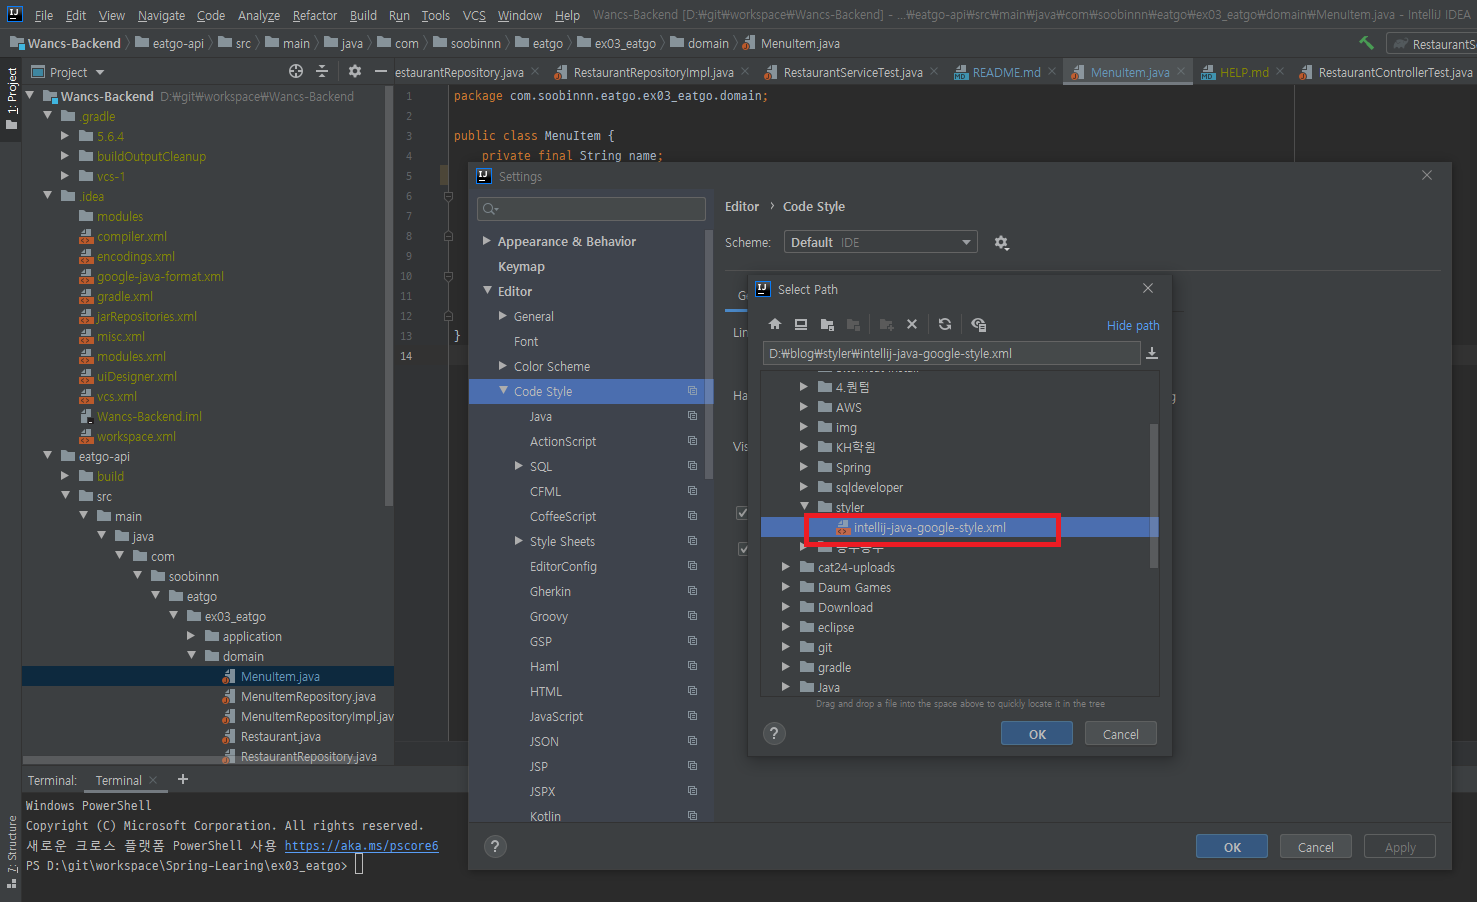
https://github.com/google/styleguide 에서 “intellj-java-google-style.xml” 다운
File - Settings - Editor - Code Style
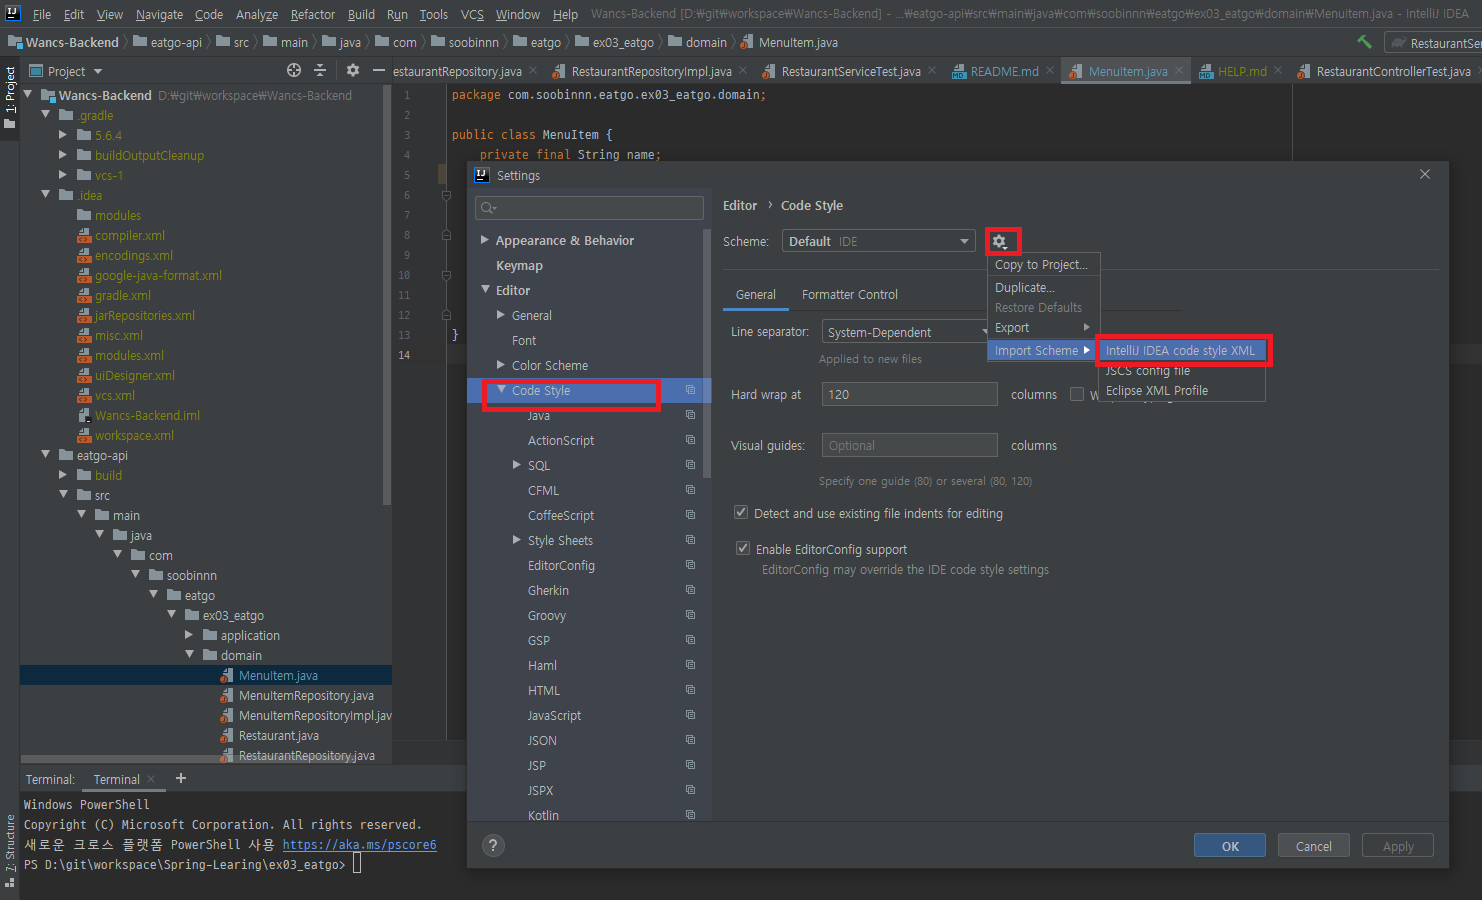
다운로드 받은 xml 선택 - 확인
적용 - Intellj 재시작
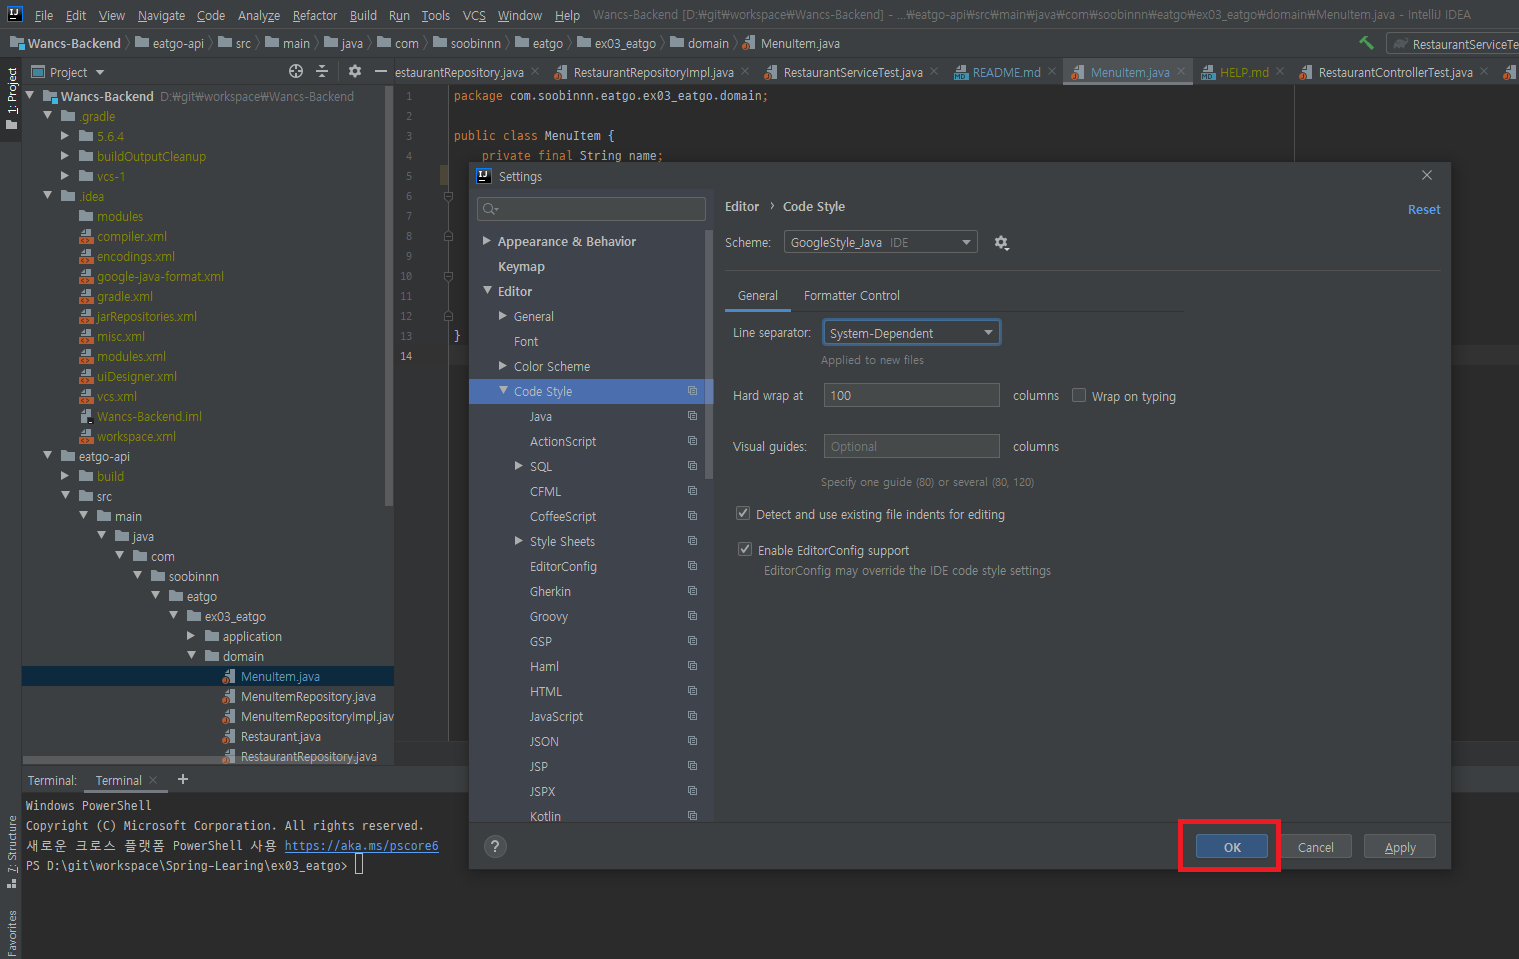
.java파일에서 tap키를 누르면 default 간격이 2로 되는 것을 확인 할 수 있다.
저장 시 자동 정렬
저장 시 자동정렬도 plugin을 사용하거나 IDE의 매크로기능을 사용하여 적용할수있다.
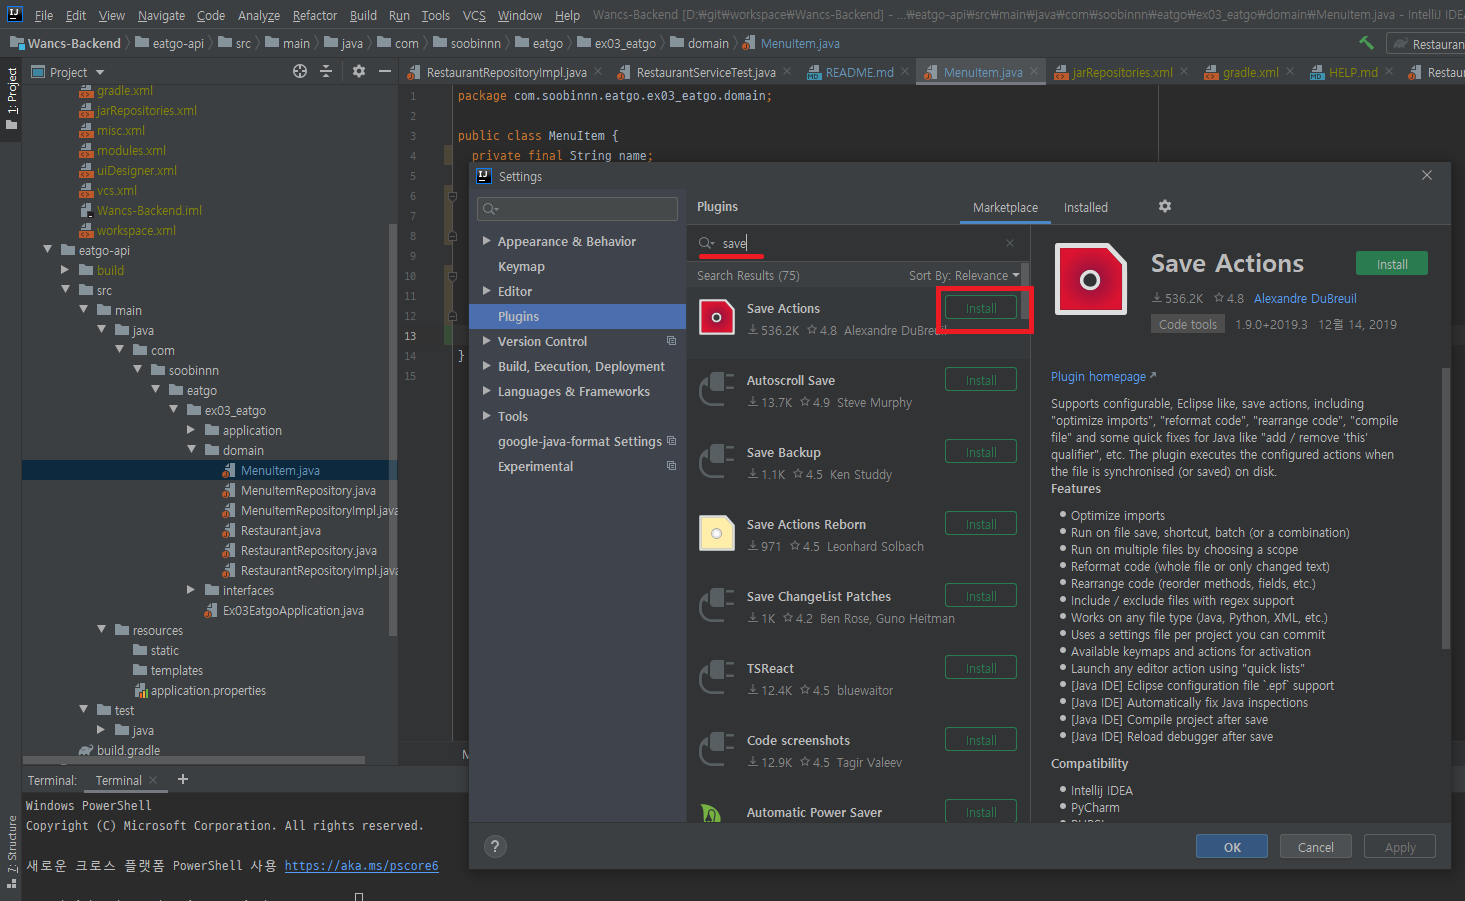
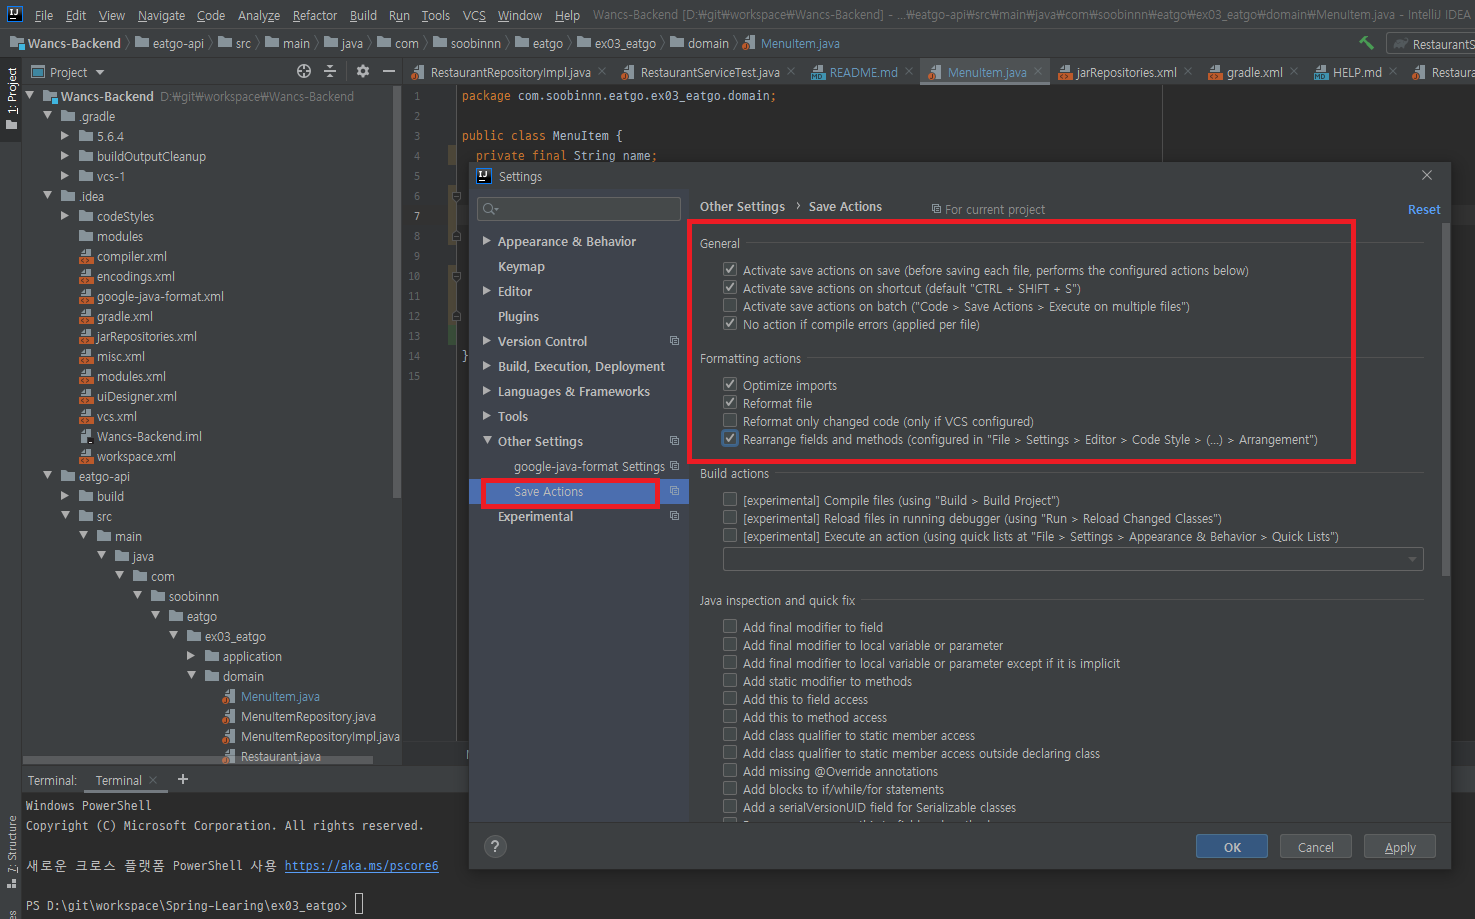
save plugin
환경설정 - plugin - save actions 검색 - 설치 - IntellJ 재시작
환경설정 - save actions - 체크사항 체크
매크로 설정
Edit - Macros - Start Macro Recoding - Play Macro Recoding
“Ctrl + Alt + L” - “Ctrl + S” 누른 후 - Edit - Macros - Stop Macros - 매크로명 작성 후 저장
환결설정 - KeyMap - Macros - 만든 매크로명 선택 후 “Ctrl + Shift + S”
gradle로 적용하기
dependencies {
    ...
    compile 'com.google.googlejavaformat:google-java-format:1.7'
}